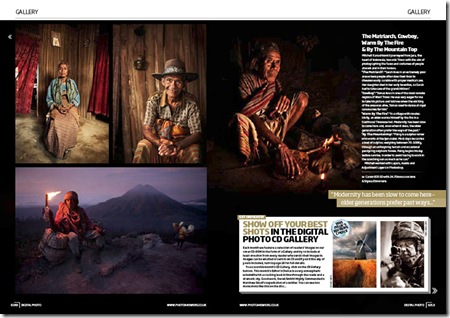
 The image above is from a spread of my photos in the “Gallery” section of “Digital Photo” magazine. The issue should be out in the UK in a week or two.
That’s great and all, but here’s a short story with an important point.
The pay for being featured in this particular section of the magazine, is not significant, it’s better than what most magazines will give for something similar, but it’s insignificant nevertheless. My main motivation for sending images in was not the money, but the exposure. “Digital Photo” is one of the most widely read photography magazines in the UK and probably Australia. It’s a great platform for spreading the word about what I do to thousands of people.
Ideally this is what I would want to happen - readers see my images, they like them, they go to my website and see what else I do. Hopefully someone wants to buy a print, someone else might be interested in a workshop and a few others may want to buy the ebook tutorial. Good idea. Well, not so fast. Why? Because the website URL is not there! Why is it not there? Good question.
When submitting images to “Digital Photo” you have to provide all your contact details, as well as a website URL, if you have one. All that info goes to someone, though I am not exactly sure to whom. I thought that since I had provided the URL of my website it would automatically be included, along with my images. Incorrect!
My initial reaction was a good amount of cursing, out loud. That’s my reaction to many things that frustrate me or make me angry, but once I get that out of my system, :) I take a deep breath, relax and analyze – what went wrong? The answer is simple – I assumed without actually communicating what was important to me, without verifying anything. I assumed wrong. Good opportunity wasted, lesson learned.
Editors have a lot of stuff on their hands and including my website info into a publication is likely not on their “to do list”, especially not if they haven’t been requested and reminded. Even when they are requested and reminded, things can and will go wrong and in that case the editor in question should have a good kick up the butt. Not the case here, instead, what I thought was common sense, a silly, little insignificant thing, came to bite me in the place where the uncooperative editor should be kicked.
The lesson is one that applies to anything in life – if something is important to you, go after it, let the relevant people know, remind them and remind them again. Sure you there’s a chance that you may come across as annoying, but I’d rather come across as annoying and have an opportunity to maximize the return from my efforts than be a nice, complacent fellow who gets almost nothing for his hard work. Simple as that. Don’t do what I did. :)
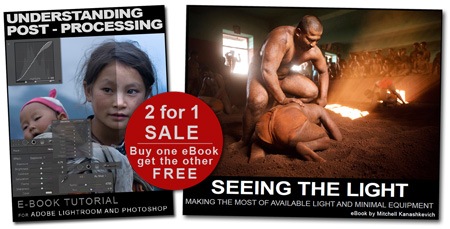 I’m holding a SALE for both of my eBooks this week. You buy either one of them and you get the other free. So, folks, anyone who hasn’t got these yet, now’s your chance. The offer lasts from November the 7th to the 14th.


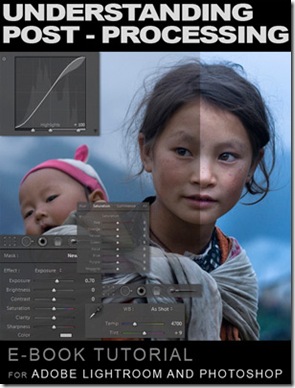


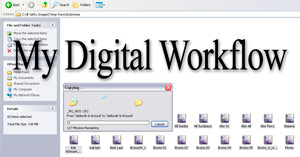 Ok, so I thought it might be useful to let people know how I go about working on my images after I have captured them with the camera. This is not a tutorial, just some steps that I take, a word on the software that I use and some thoughts behind why I use it.I’ll start with a statement that will likely surprise many photographers; I don’t use Lightroom, at all.
In a perfect world things would be much simpler than they are and I would absolutely love if Lightroom was my answer to everything, but it’s not. “Why?” You ask. I’ll try to make it as short as I can: I really don’t like certain textures that Adobe Camera Raw creates (this is what both Photohshop and Lightroom use to interpret RAW files) and I don’t like how it handles color. The textures often look “too computer generated”, progressions of really dark tones to a really light ones are a little too harsh, too sharp and sometimes pixelated. The colors and the tones often seem to blend with each other and the image takes on a somewhat de-toned, de-saturated look.
I feel that Capture One 4 Pro handles RAW better, it’s not perfect, but for most part I find it superior to anything else. I must note that the aim of this post is not to start a debate on which software is better; I’m simply sharing my thoughts. If you want to see for yourself, download a
